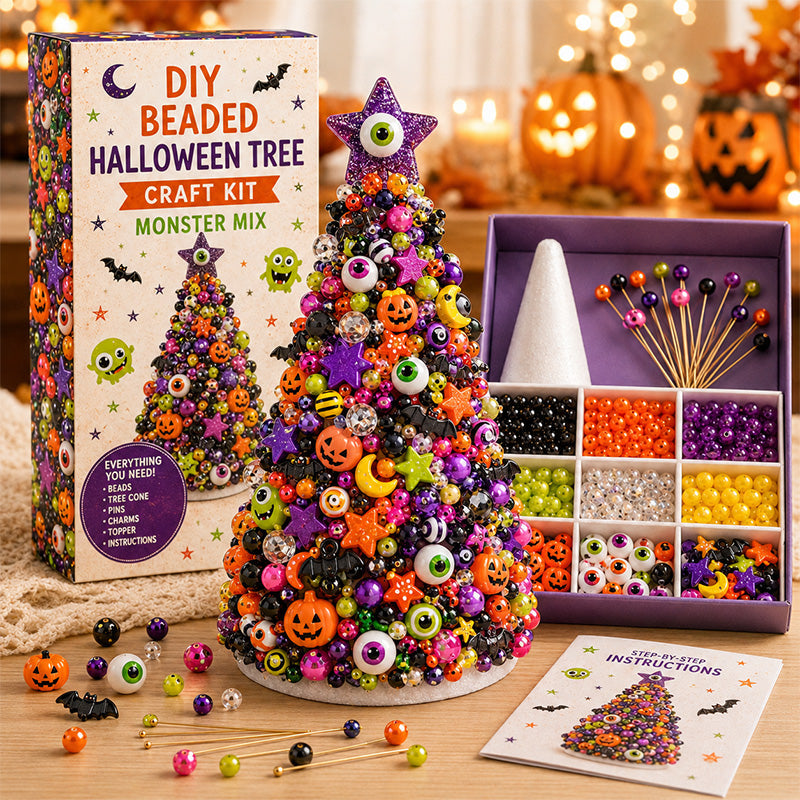
🎃 Classic HalloweenBlack, orange, purple and green for the most traditional spooky-season look.

Couldn't load pickup availability

-
Ordered
- - -
Order Ready
- - -
Delivered
DIY BEADING • HALLOWEEN TABLETOP DECOR • 7 THEMES
Start with a simple cone form, then cover it bead by bead with pearls, crystal-style sparkle, pumpkins, moons, bats, ghosts, skulls and character details until it becomes a richly textured Halloween centerpiece made by you.
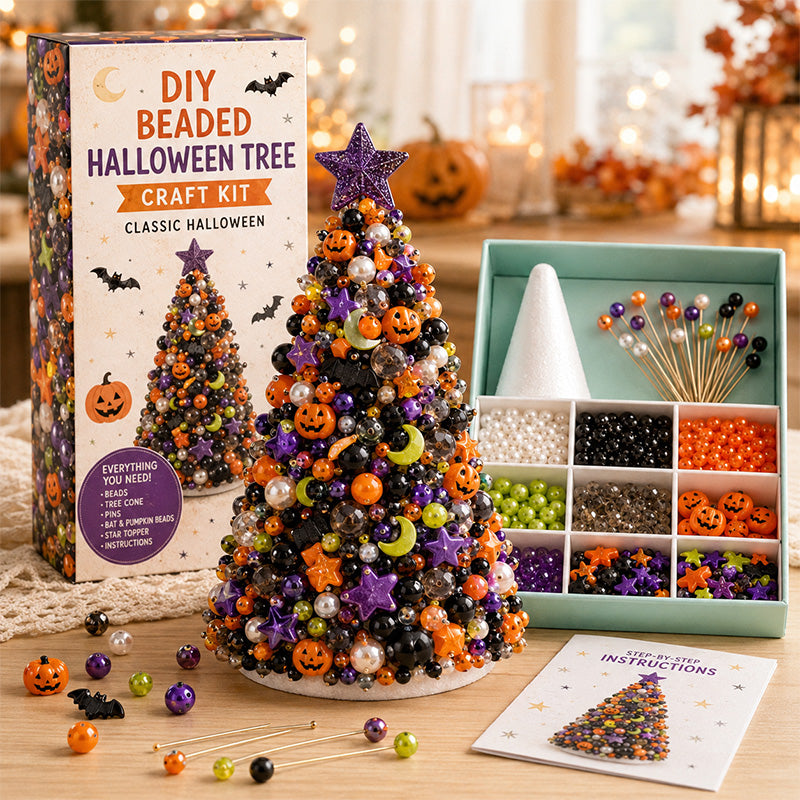
WHY THIS PROJECT HAS A BIGGER PAYOFF
The strongest appeal is the transformation: a plain tree form gradually disappears beneath layers of color, shine and spooky details until the finished piece looks nothing like the starting point.
The repetitive place-and-secure rhythm gives you a hands-on seasonal project to focus on one detail at a time.
Pearl-style, faceted, metallic-style and novelty beads create depth instead of a flat printed surface.
Pumpkins, moons, ghosts, bats, skulls, stars and themed toppers make every style instantly recognizable.
The completed tree moves straight from the craft table to your mantel, shelf, entryway or party display.
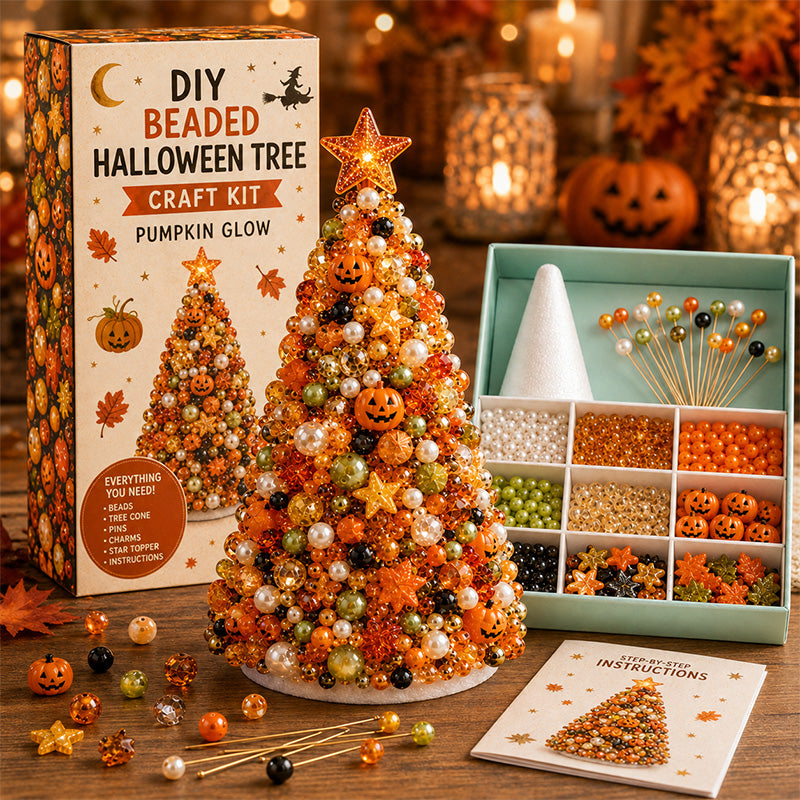
THE REAL PURCHASE REASON
Pumpkins and plastic props are easy to buy. This project gives you something different: the satisfaction of creating a decorative object whose pattern, balance and final personality came together in your own hands.
More involvement: you build the surface instead of simply unpacking a finished decoration.
More detail: small beads, charms, pins and specialty shapes create a jeweled, layered finish.
More personality: choose elegant, gothic, harvest or playful Halloween rather than one generic style.
HOW THE TREE COMES TO LIFE
You do not need to create the entire design at once. The visual impact comes from repeating a simple process across the surface.
Sort the colors, finishes and Halloween details you want to use first.
Follow the suggested look or preview your own color rhythm before securing pieces.
Attach beads around the cone form gradually until the base begins to disappear.
Mix in pumpkins, moons, ghosts, bats, skulls, stars or other theme-specific accents.
Complete the personality with the star, witch hat, moon, bat or other character-inspired topper.
WHY THE FINISHED TREE LOOKS SO DIMENSIONAL
Contrast is what creates the visual richness: glossy against frosted, pearl against faceted, tiny accents against oversized character pieces.
Soft pearl finishes add brightness and make dark black, purple and orange sections feel more polished.
Faceted and clear accents catch nearby light and keep the tree from reading as one flat mass of color.
Theme-specific pumpkins, ghosts, moons, bats, skulls, eyeballs and toppers create the character of each design.
CHOOSE YOUR HALLOWEEN PERSONALITY
Instead of reading seven long material lists, choose the mood you want your finished display to create.


WHICH ONE FITS YOUR DECOR?
Best with pumpkins, autumn leaves, lanterns and familiar orange-and-black Halloween decorating.
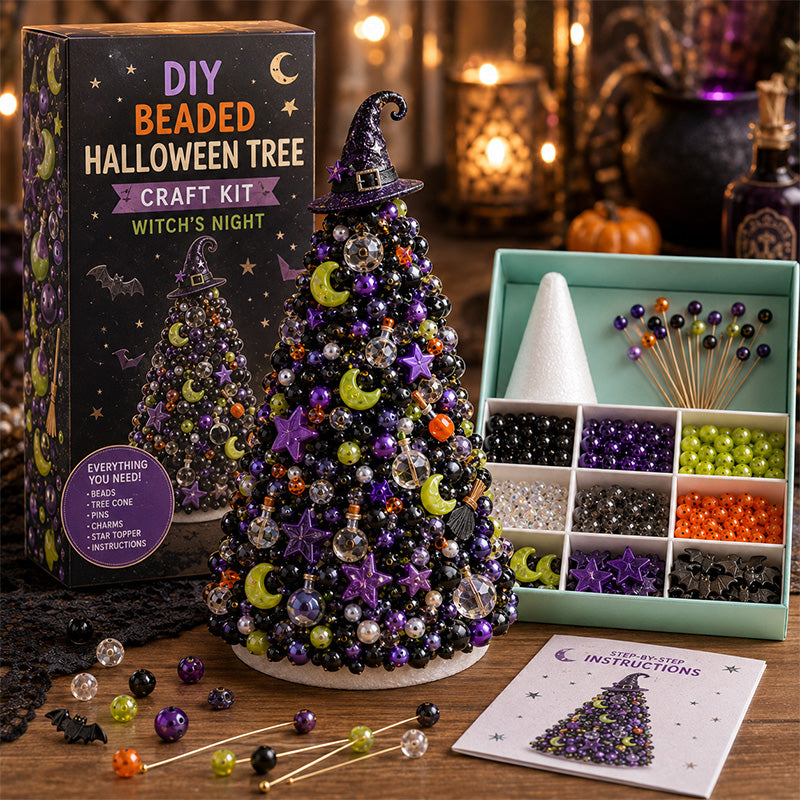
Better for black candles, moonlight themes, gothic accents, silver details and more dramatic displays.
Best when you want Halloween to feel colorful, silly and family-friendly rather than frightening.
WHAT MAKES THIS A TRUE KIT
Each product image shows the core structure clearly: a tree form, organized bead colors, decorative pins, themed pieces, the finished example and project instructions.
READY-MADE DECOR VS MADE BY YOU
FROM CRAFT TABLE TO HALLOWEEN DISPLAY
Pair it with candles, pumpkins and garland for a layered seasonal focal point.
Let one bold tree establish the Halloween mood as soon as guests enter.
Use the sculptural form where beadwork and small details can be seen closely.
Group several designs with pumpkins, lanterns and spooky accessories for a themed display.
MAKE THE PATTERN YOURS
Create stripes, sections, clusters or a more random scattered bead pattern.
Place pumpkins, moons, ghosts, skulls or novelty pieces where they feel balanced to you.
Cluster crystal-style pieces for brighter focal areas or spread them throughout the whole tree.
Use different styles together to create a miniature Halloween forest with contrasting personalities.
COMMON QUESTIONS
No. This listing is for a DIY beaded Halloween tree craft kit. You attach the beads, decorative details and topper to the included tree form to create the finished display.
The current listing offers seven: Classic Halloween, Witch’s Night, Pumpkin Glow, Ghostly Moon, Bat Midnight, Skeleton Glam and Monster Mix.
The current product description states that the beads and coordinated accents are secured to the cone-style tree form layer by layer using decorative pins.
No. The product description encourages customization. You can follow the suggested pattern or change color placement, charm positions and the overall arrangement.
The listing describes combinations of round beads, pearl-style beads, crystal-style faceted beads, metallic-style accents, novelty Halloween beads, decorative charms, themed shapes, pins and a character-inspired topper. Exact contents vary by style.
The product page suggests mantels, entryway tables, bookshelves, sideboards, party tables, desks, counters, tiered trays, craft-room shelves and seasonal centerpieces.
The project uses small beads and decorative pins. Follow the age and safety guidance on the actual packaging, and use appropriate adult supervision when younger crafters are involved.
Yes. Store it carefully with your seasonal décor so the beadwork and topper are protected for future Halloween displays.
PLACE • LAYER • DETAIL • TOP
Choose the mood, build the beadwork one detail at a time and turn a cozy craft session into a Halloween decoration you can bring back every spooky season.